
~Return to Your QuickCoach Account ****~Join the Official User Group on Facebook
Need more help? [email protected]
(0mins:53s)
Let’s get your client set up in QuickCoach.
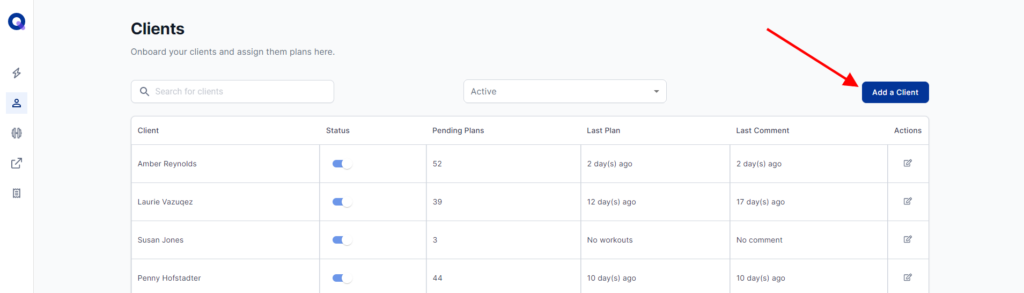
On the home screen, click the 'add a client' box, or you can do it from your client's area on your left navigation.
From here, click the 'add a client' button.
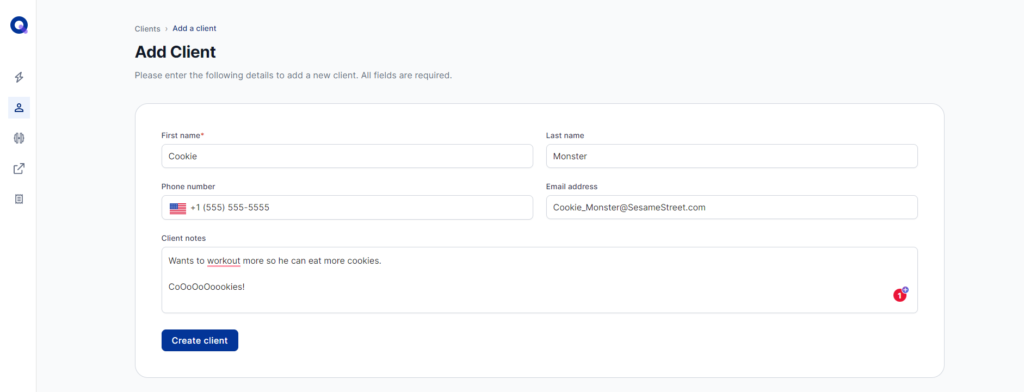
At this point, you'll see areas to fill in the client's name, email, phone number, and goals. The only info required is the first name.
Once done, click 'create client'
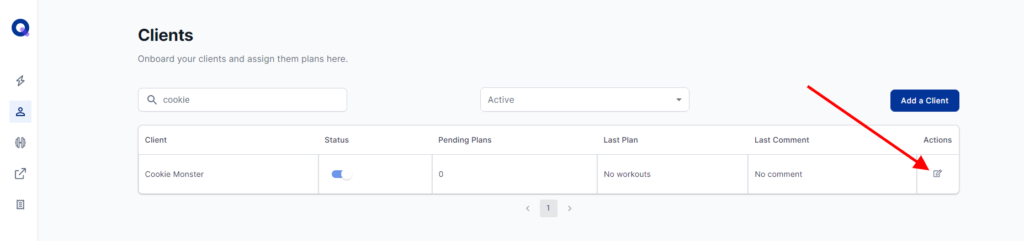
After you click 'create client', you'll see their name appear in your client list.
You can edit their details, arrange the order of their plans, and add plans to their account by clicking the 'notes' icon beside their name.
On that page, you’ll also find their unique client link where they can access their program and send your client the link to their account.
<aside> ✨ RELATED ARTICLES Assigning Plans to Clients Assigning Multiple Plans (Or Templates) at Once Delivering Plans In Any Language
</aside>